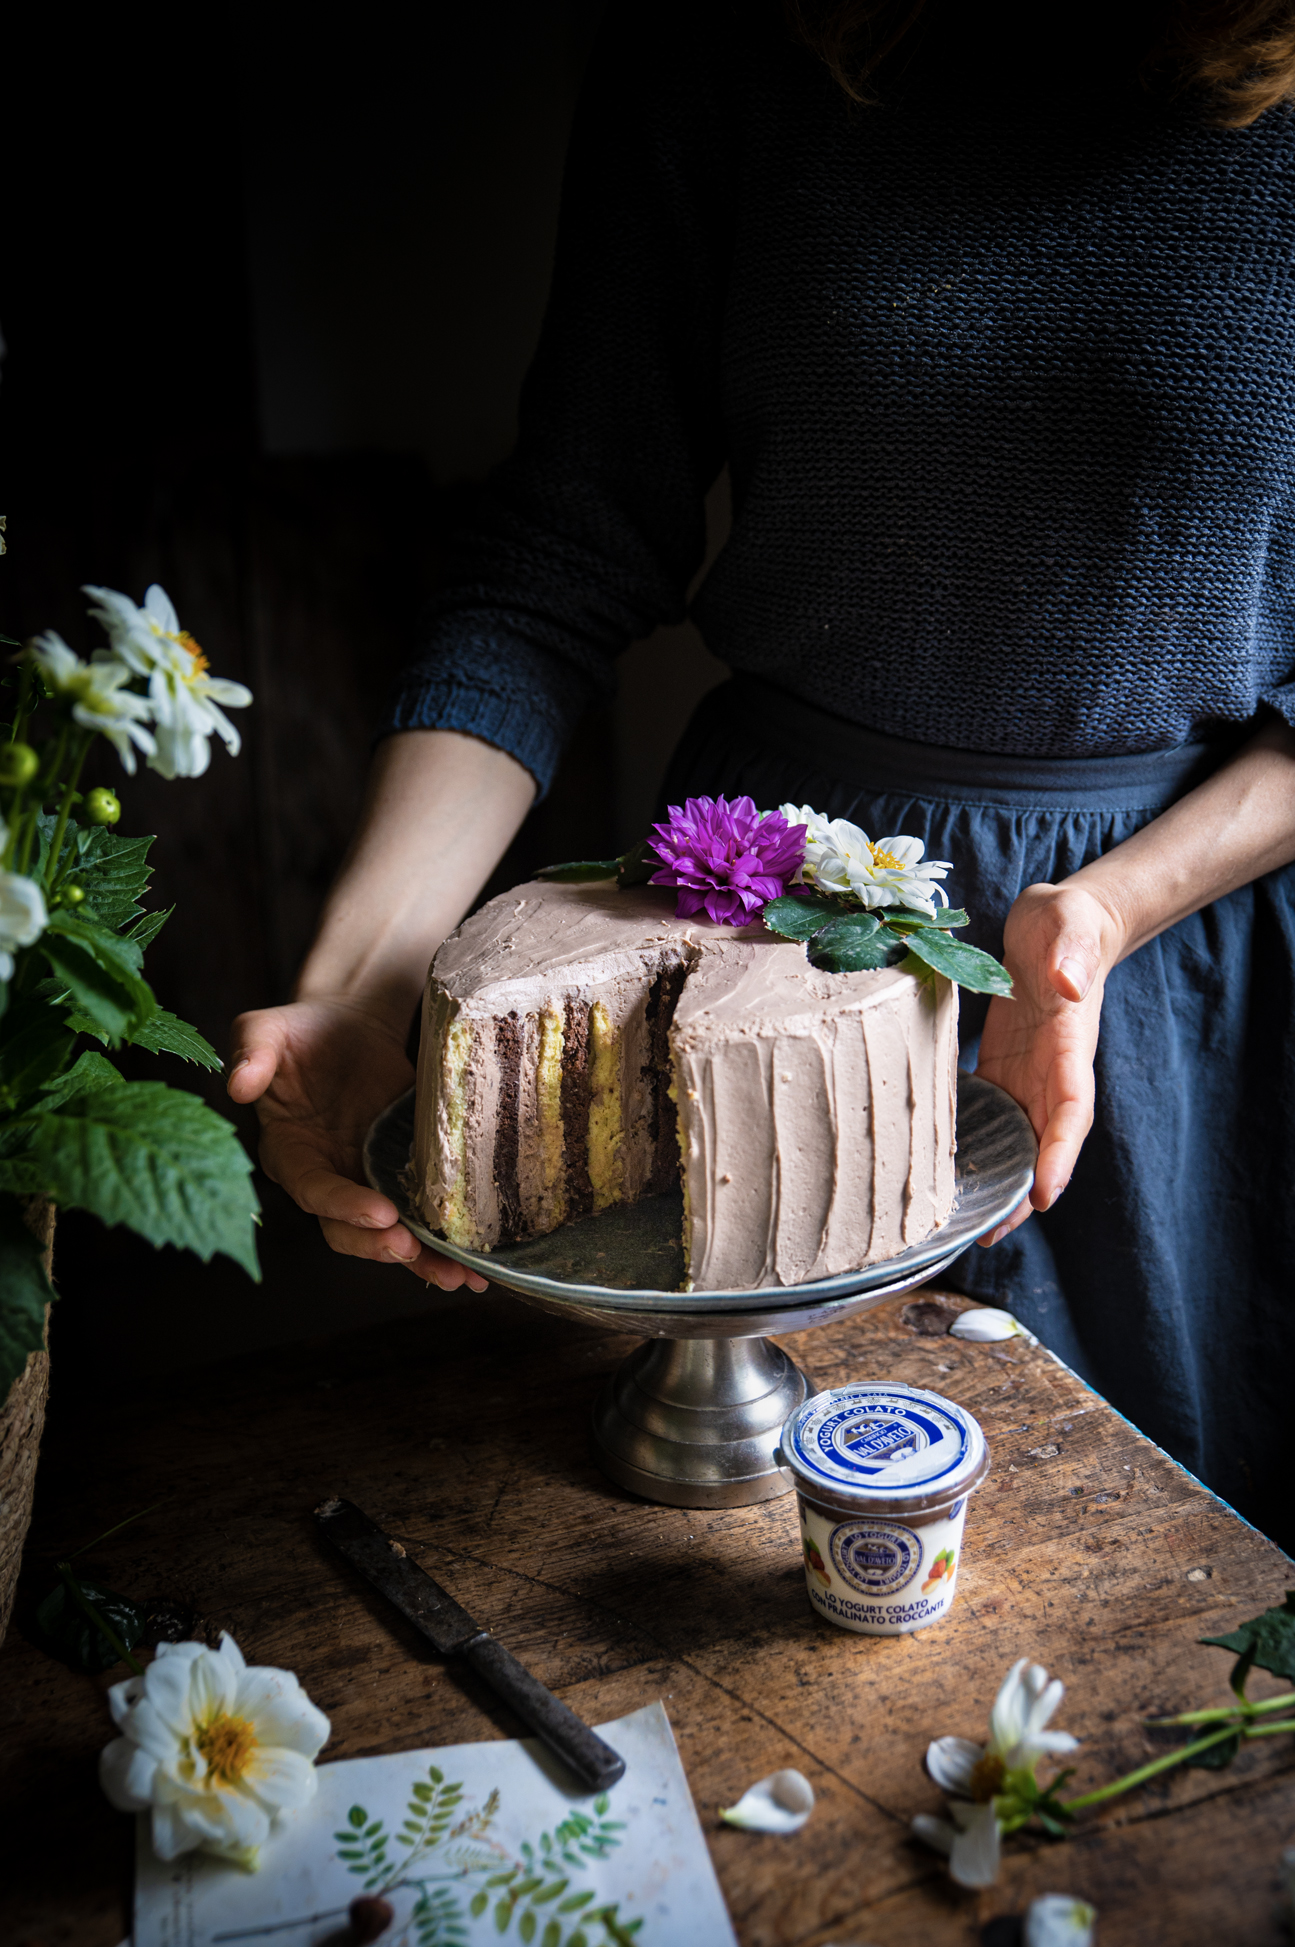
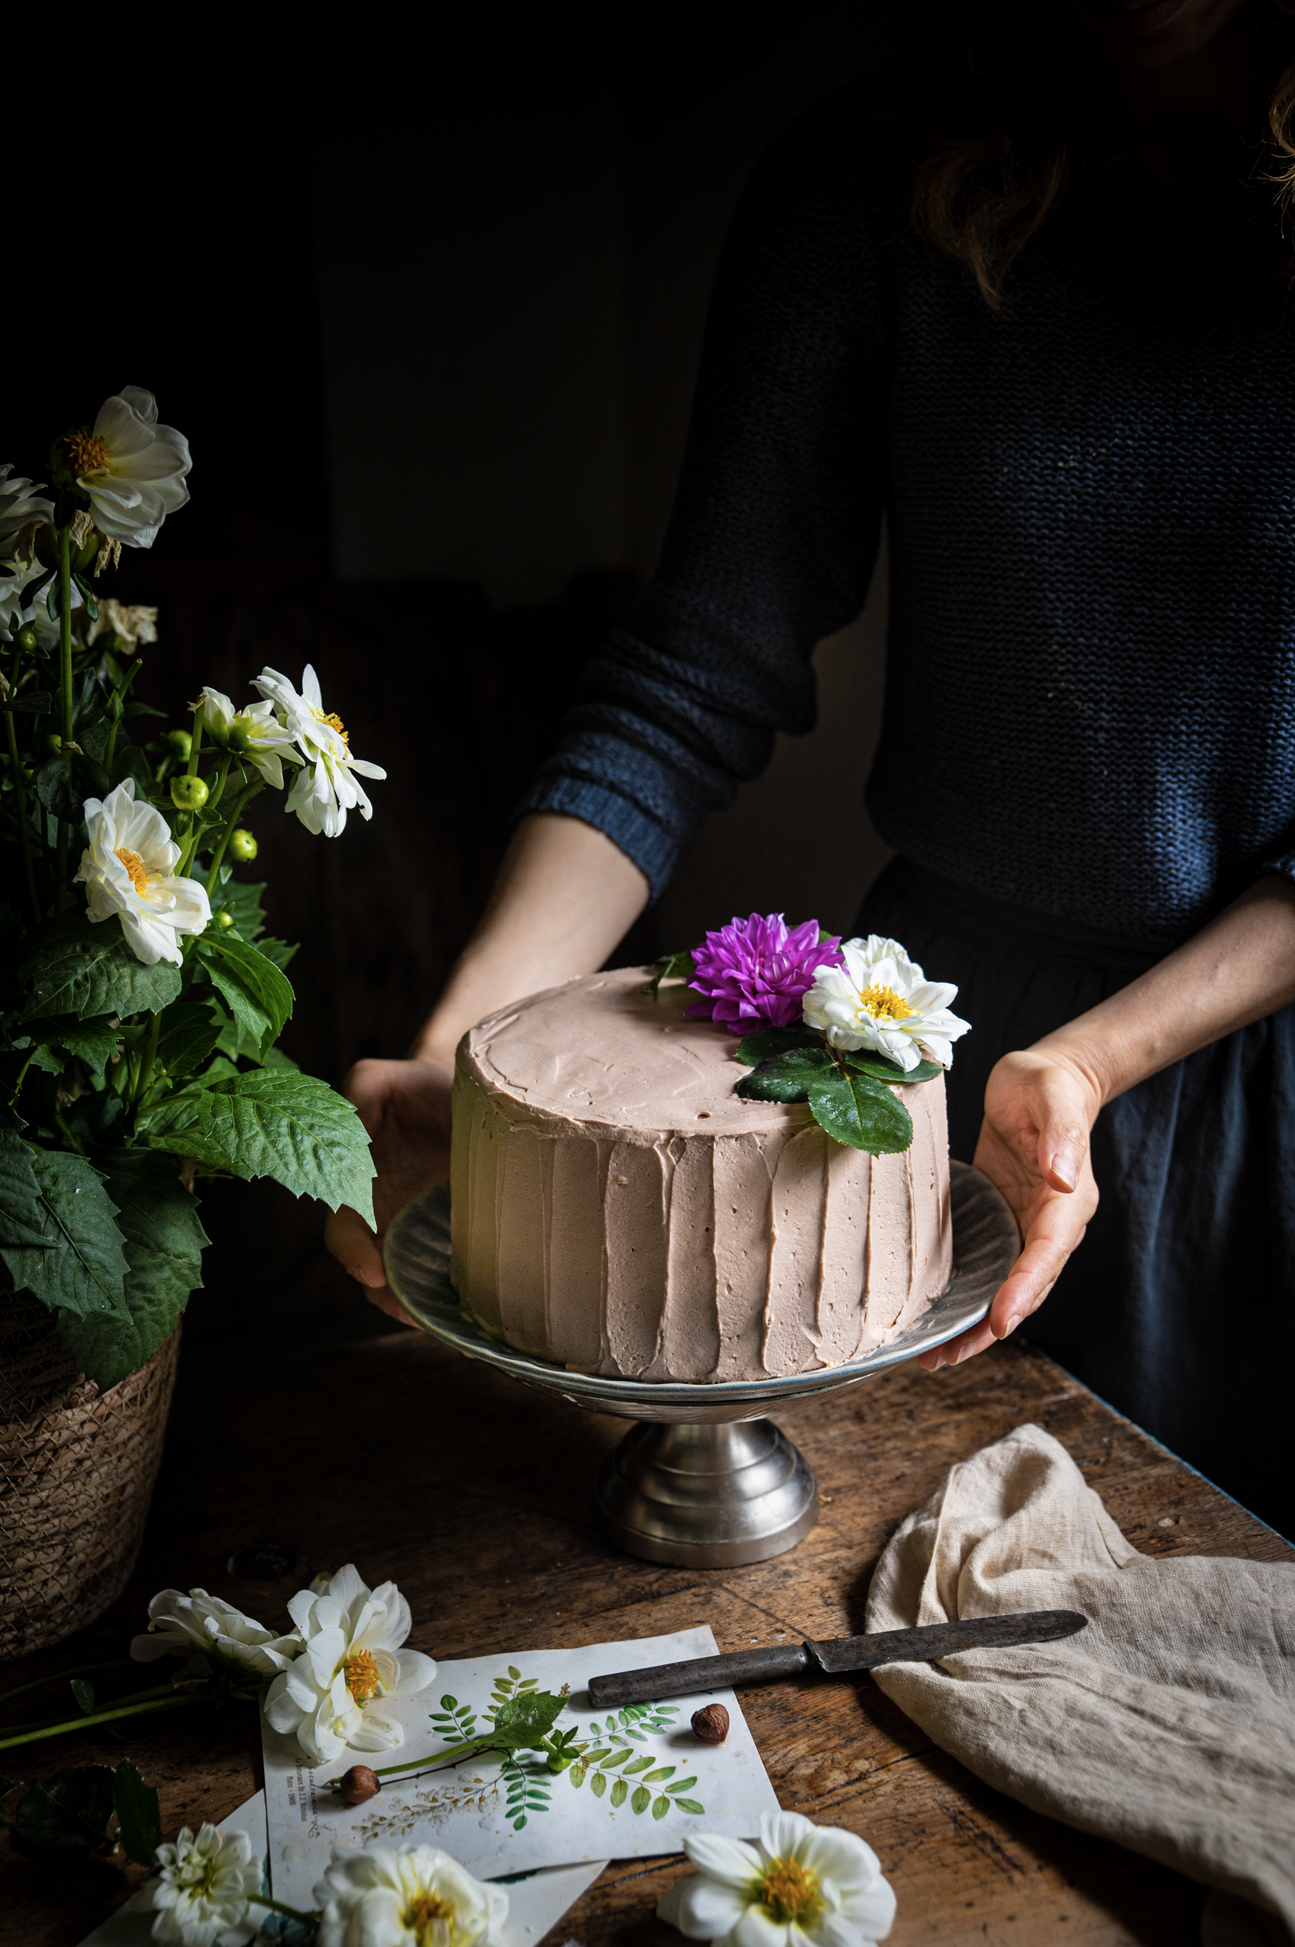
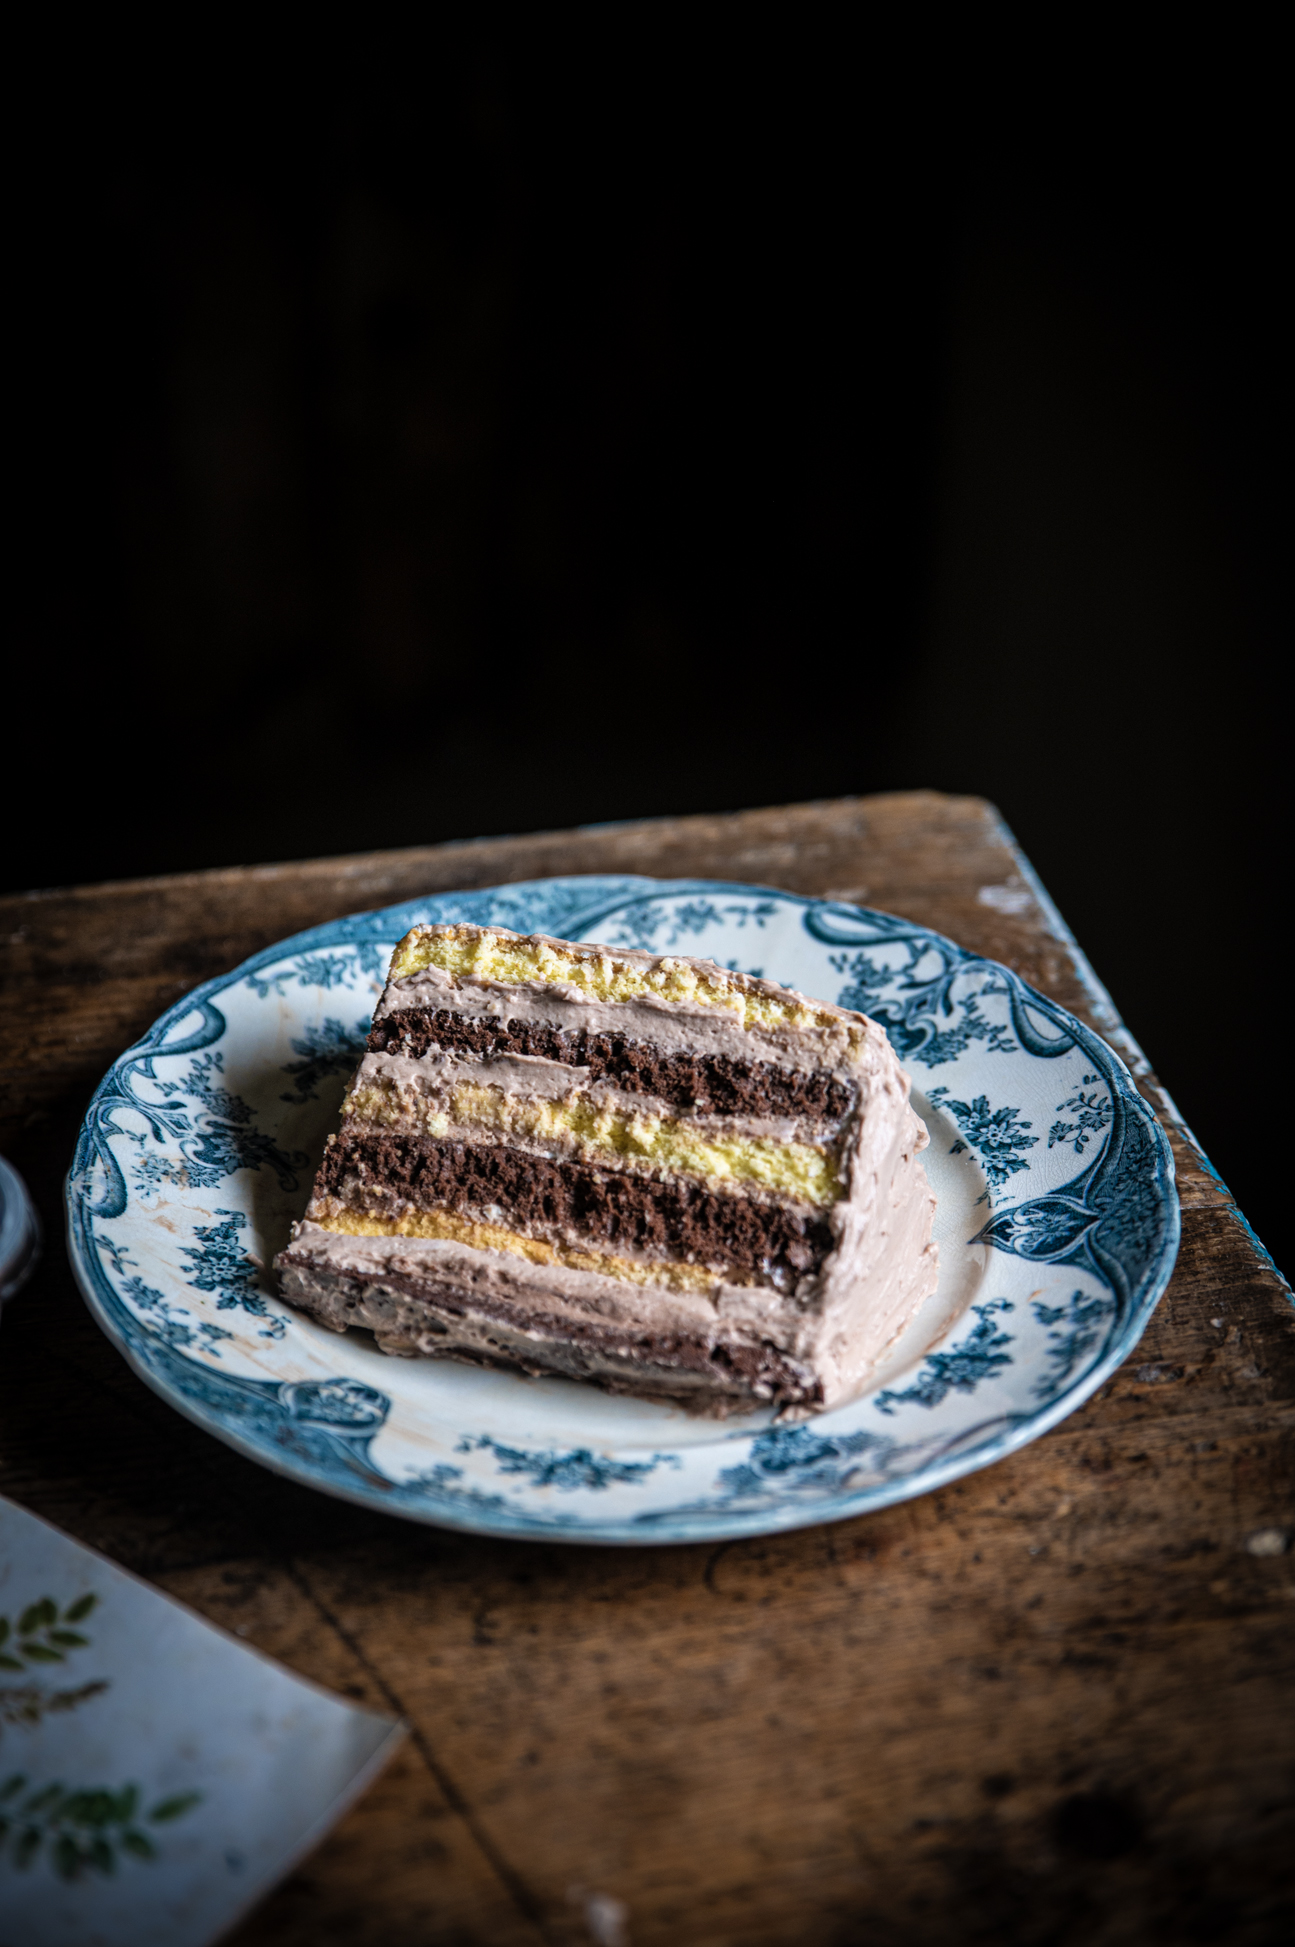
 English version below- Una torta formata da morbidi strati che si sviluppano in verticale: pasta biscuit, chiara e al cacao, alternata con un’irresistibile crema allo yogurt, la mia vertical roll cake bicolore è un dolce scenografico ma assolutamente semplice da realizzare.
Il segreto per la perfetta riuscita di questo dessert è una pasta biscotto che tiene facilmente la forma e non si rompe, ma al tempo stesso è talmente soffice da non richiedere una bagna che lo renda più umido.
L’ingrediente speciale utilizzato per la crema invece? Lo yogurt colato al pralinato croccante del Caseificio Val D’Aveto , denso e cremoso, assolutamente non acido.

Vertical Roll Cake bicolore
Per il Pan di Spagna
5 tuorli
4 albumi
100 g zucchero
100 g farina
Per il Pan di Spagna al cacao
5 tuorli
4 albumi
100 g zucchero
70 g farina
40 g cacao
Per la crema
2 yogurt colati (300 g) al pralinato croccante Caseificio Val D’Aveto
300 g mascarpone
100 ml panna
8 g cacao
50 g zucchero a velo.
Prepara la pasta biscuit chiara: preriscalda il forno a 180°. Monta gli albumi, quando iniziano a diventare gonfi, inizia ad aggiungere 50g di zucchero e monta fino a quando saranno sodi. A parte monta i tuorli con gli altri 50 g di zucchero per almeno 20 minuti. Incorpora gli albumi nei tuorli con movimenti delicati dal basso verso l’alto e unisci la farina setacciata, mescolando con movimenti delicati, facendo attenzione a non smontare il tutto. Versa in una placca da circa 34×42 cm,cuoci 15-20 minuti, fino a quando sarà dorato e fermo al tatto. Poni un foglio di carta forno sopra un piano da lavoro, cospargilo con un po’ di zucchero a velo. Delicatamente rovescia lo strato di pasta biscotto sopra il foglio e rimuovi la carta attaccata, inizia ad arrotolare. Lascia riposare e raffreddare così 20 minuti, in modo che prenda la forma. Ripeti tutti i passaggi per preparare la pasta biscuit al cacao, aggiungendo il cacao setacciato per ultimo, dopo la farina. Per il frosting monta mascarpone e panna freddissimi assieme allo zucchero a velo, quando sono ben sodi unisci lo yogurt con movimenti delicati, per ultimo incorpora il cacao setacciato, con movimenti dal basso verso l’alto. Per assemblare la torta segui il procedimento nel video:
Altre torte che trovi su questo sito che potrebbero piacerti:
Torta ripiena di mousse al cioccolato, fragole e gelé
Ombre cake allo yogurt e mirtilli
Vertical roll cake con frosting al mascarpone

Vertical Roll Cake
For the sponge cake
5 egg yolks
4 egg whites
100 g sugar
100 g flour
For the cocoa sponge cake
5 egg yolks
4 egg whites
100 g sugar
70 g flour
40 g cocoa
For the frosting
300 g greek style yogurt (I used Hazelnut Flavoured yogurt)
300 g mascarpone
100ml cream
8 g cocoa
50g icing sugar.
Make the white sponge cake: Preheat oven to 180°C. In a bowl, beat the egg whites with an electric mixer until mixture looks foamy; gradually add 50 g sugar, beating until meringue is stiff and glossy. In another bowl, whisk the yolks with 50g of sugar for at least 20 minutes until light and fluffy. Gradually and gently incorporate the egg whites into the batter of yolks with a scooping and folding motion using a spatula. Sift the flour into the mixture and fold in very carefully until no traces of flour are left. Pour the mixture into a baking tray of 34×42 cm lined with parchment paper, bake for about 20 minutes until golden and firm to the touch.
Place a sheet of parchment paper on a work surface, sprinkle it with icing sugar. Gently turn the layer of sponge cake over the sugared sheet of parchment paper and then carefully remove the parchment paper from the bottom of the cake. Start rolling using the paper to help you roll the sponge tightly. Sit it seam-side down until cold, for at least 20 minutes.
Make the cococa sponge cake: repeat all the steps above, adding the sifted cocoa last, after the flour.Make the frosting: pour the iced mascarpone and the iced whipping cream into the bowl, whisk the mixture adding the icing sugar, continuing to whisk until fluffy and firm, gently fold the yogurt and lastly add the sifted cocoa, mix until combined. To assemble the cake follow the procedure in the video above.


Lascia un commento